


After a hard winter, building managers walk the outside of the property and find new cracks, stained patches and flaking paint. The question is rarely whether something is wrong. The question is how much to spend on facade repairs, and how soon.
This guide gives a five-step framework for that decision. It helps owners, trustees and managers judge building facade repairs by risk and scale, so the money goes where it protects the building most.
Step 1: Decide whether the problem is cosmetic or structural
Start with the most important split. A cosmetic problem affects looks only. A structural problem affects the strength or safety of the wall.
Cosmetic signs include faded paint, light chalking and surface staining. Structural warning signs call for an engineer, not a painter. Look out for these:
- Cracks wider than a hairline, or cracks that grow over time
- Stepped cracks that follow the lines between bricks
- Render or plaster that sounds hollow when tapped
- Concrete that has chipped away to show rusty steel
- Pieces of the facade that fall or look ready to fall
If any of these appear, secure the area below and call a qualified engineer before planning cosmetic work. Painting over a structural fault hides it and lets it grow.
Step 2: Find out where the water is getting in
Water causes most facade damage. It enters through cracks, failed sealant, blocked drains and damaged flashings. It then swells plaster, rusts reinforcing steel and breaks paint away from the wall.
A repair that ignores the entry point will fail. Walk the building after rain and watch where water runs and pools. Check window frames, balcony edges, parapets and the points where pipes pass through the wall. Mark each suspect spot on a simple drawing or photo set.
This map becomes the backbone of your scope. It also helps compare quotes, because every contractor is then responding to the same list.
Step 3: Judge how widespread the damage is
Scale decides the approach. Use this rule of thumb to sort the options.
- Isolated damage, such as a few cracks or one stained patch, usually suits a targeted repair.
- Repeated damage across one elevation points to a wider repair of that wall.
- Damage on every side suggests a full facade restoration plan.
Wide damage is also a sign that the coating or sealant system has reached the end of its life. Patching it piece by piece becomes expensive, and each patch creates a new weak edge.
Step 4: Choose the access method that fits the job
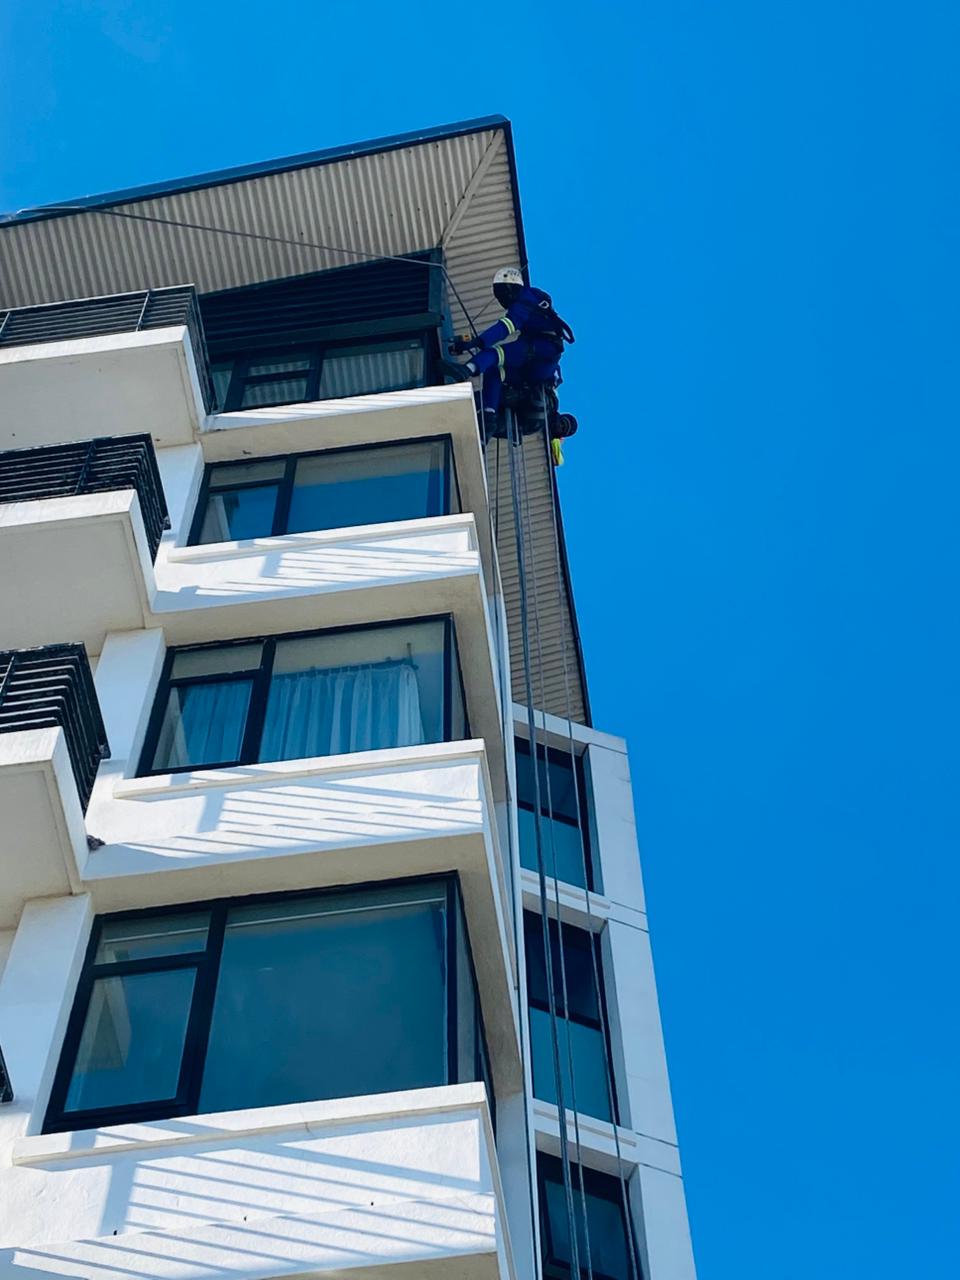
Access often costs as much as the repair itself, so the choice matters. Scaffolding suits long jobs with heavy materials. Suspended platforms suit large flat walls. Rope access suits repairs spread over awkward areas or jobs where speed and low disruption matter.
For tall buildings with scattered repairs, rope access can reach each spot without building a frame around the whole wall. One local example is a Cape Town contractor that lists rope access among its services.
Whatever method you choose, ask for the written safety plan. South African construction rules expect a documented fall protection plan for work at height, and a competent person to supervise rope access.
Why small facade defects grow
A thin crack looks harmless, yet it lets in water every time it rains. The water swells the plaster behind the crack and loosens the paint around it. In the next dry spell the wall shrinks again, and the crack opens a little wider. Over a few seasons, this cycle turns a hairline into a visible fault.
On concrete, the process is worse. Water reaches the steel inside and starts it rusting. Rust takes up more space than steel, so it pushes the concrete outward until pieces break away. That is why building facade repairs done early cost far less than repairs done after the concrete has started to spall.
Coastal air adds salt to the mix. Salt speeds up rusting and attacks paint and sealants. Buildings near the sea often need inspection more often than inland ones.
How to read a contractor’s inspection report
A good inspection report is specific. It lists each defect, shows its location and states what caused it. It separates urgent items from routine ones and gives a recommended method for each.
Be wary of vague wording such as “general repairs required”. That phrase hides the real scope and makes quotes impossible to compare. Ask for photos, measurements and a marked-up drawing. If the report cannot show you the problem, the contractor may not have looked closely.
Ask also how long the repair is expected to last, and what conditions the guarantee requires. Some guarantees depend on regular maintenance, and some exclude damage from movement or leaks elsewhere.
Step 5: Time the work around the weather
Facade work depends on dry, calm conditions. Many coatings and sealants need dry surfaces and mild temperatures to cure. Strong wind can stop work on the face of a tall building.
In the Western Cape, this often means working through the drier months and finishing before the first winter storms. Ask contractors how they plan for wind and rain delays, and build spare days into the schedule. A repair that is rushed in poor weather often has to be redone.
Putting the framework to work
The five steps combine into a short decision path. Use it as a checklist at your next walk-around.
- If you see a structural warning sign, call an engineer first
- If water entry is clear, fix the source before touching the finish
- If damage is isolated, choose a targeted repair
- If damage is everywhere, plan a phased restoration
- If access is hard, compare rope access with scaffolding and platforms
- If winter is close, book early or plan for the next dry season
What a good repair scope includes
A written scope keeps everyone honest. It should state which areas will be repaired, what materials and methods will be used and what the finished surface should look like. It should list the preparation steps, such as cutting out loose render and treating exposed steel.
It should also state what is excluded. Ask about hidden damage. Contractors often find more cracks once loose plaster comes off. A fair quote explains how extra work is priced before the job starts.
Common mistakes to avoid
Four errors repeat in facade projects. Avoiding them saves money.
- Painting over cracks without repairing them
- Sealing the surface while moisture is still trapped behind it
- Choosing the cheapest quote without checking what it omits
- Delaying small repairs until they grow into large ones
Moisture trapped behind new paint or sealant is a special risk. It pushes against the coating from inside and causes blisters and peeling. A good contractor tests for moisture before sealing.
Keeping records for the future
Treat every facade project as part of a long-term maintenance file. Keep the scope, the photos before and after, the product names and the guarantee terms in one place. Note the date of each inspection and repair.
That record helps the next trustee or manager understand what was done and why. It also speeds up the next inspection, since the weak spots are already marked.
A practical way to start this month
Begin with a walk-around, a camera and a notebook. Photograph every crack, stain and flaking patch, and mark each on a drawing of the building. Rank the findings by risk: structural first, water entry second, cosmetic last.
Then ask two or three contractors to inspect and quote the same list. KD Global Construction is one Cape Town firm that offers rope access, painting and waterproofing together, which can suit buildings where several facade issues overlap. Compare the answers on safety, preparation and guarantees, and choose the team that explains its method best. Clear thinking at this stage is what makes building facade repairs effective and affordable over the long run.